xTool O1 Omni UV Printer Review
The xTool Omni O1 makes UV printing more accessible than ever. With automated object scanning, precise image placement, built-in filtration, and polished software, it prints vibrant, durable graphics directly onto everything from metal and glass to leather, canvas, acrylic, and ceramics. It requires regular maintenance, but if you take care of it, it will reward
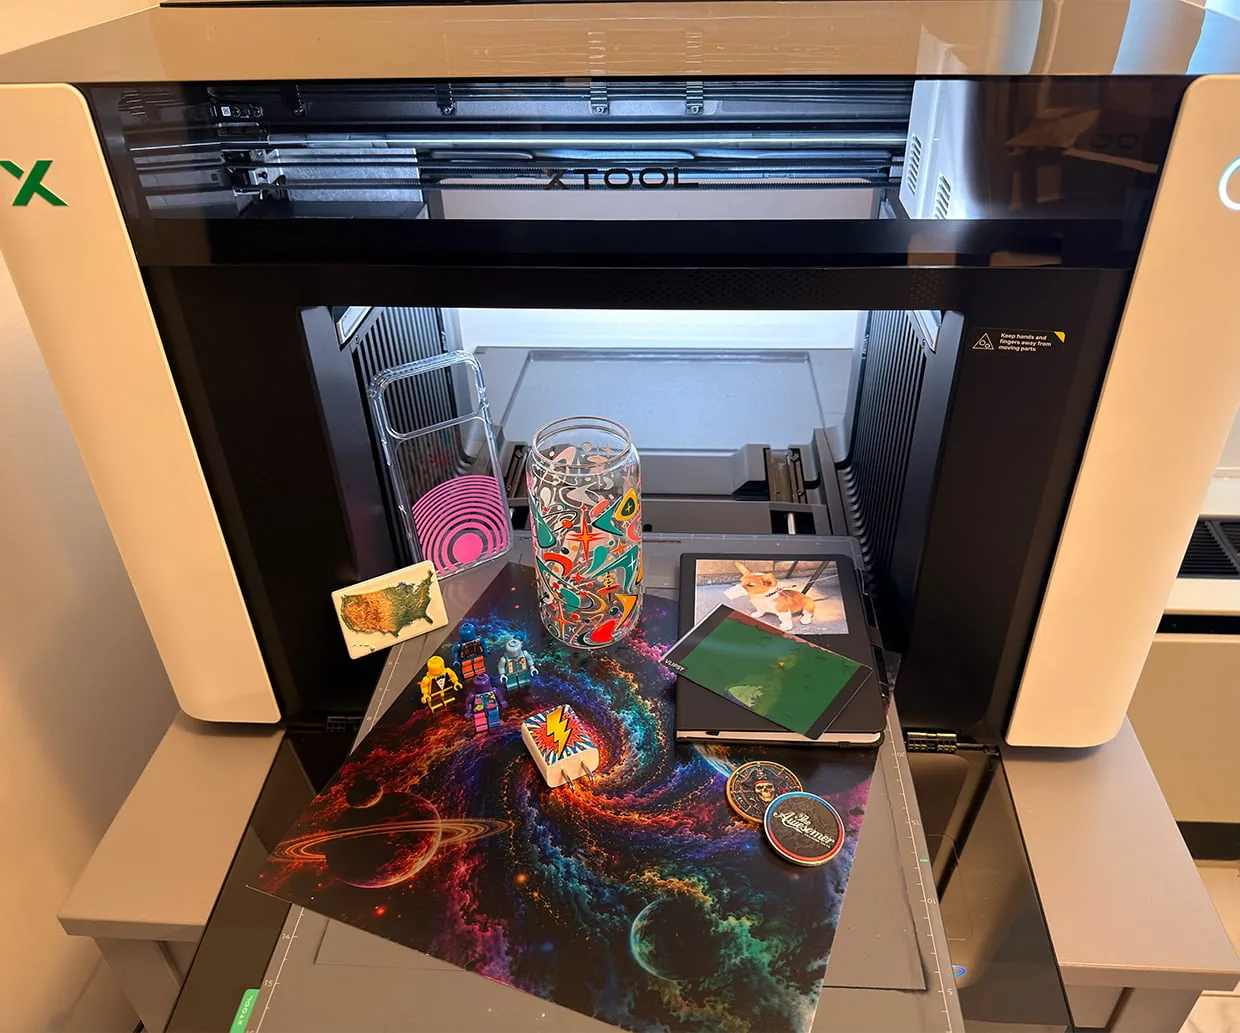
The xTool Omni O1 makes UV printing more accessible than ever. With automated object scanning, precise image placement, built-in filtration, and polished software, it prints vibrant, durable graphics directly onto everything from metal and glass to leather, canvas, acrylic, and ceramics. It requires regular maintenance, but if you take care of it, it will reward you.
xTool offers the Omni O1 in three versions. The Single UV model starts at $2,499, the Dual UV version costs $3,299, and the DT + UV model is $3,499. The Dual UV model provides greater color versatility, supports printing on both rigid and flexible surfaces, and can print a little bit faster. The DT + UV version uses a different ink configuration and adds the ability to print directly onto garments.
The first thing to know is that the Omni O1 is a substantial piece of equipment. Weighing nearly 100 pounds, the printer needs a large, sturdy work surface, and you also need to account for its moving parts. The front and rear doors fold down approximately 15.7 inches to provide clearance for the print carriage, and xTool recommends leaving about 11.8 inches along the sides for ventilation. In other words, this isn’t something you’re going to squeeze onto the corner of a small desk.
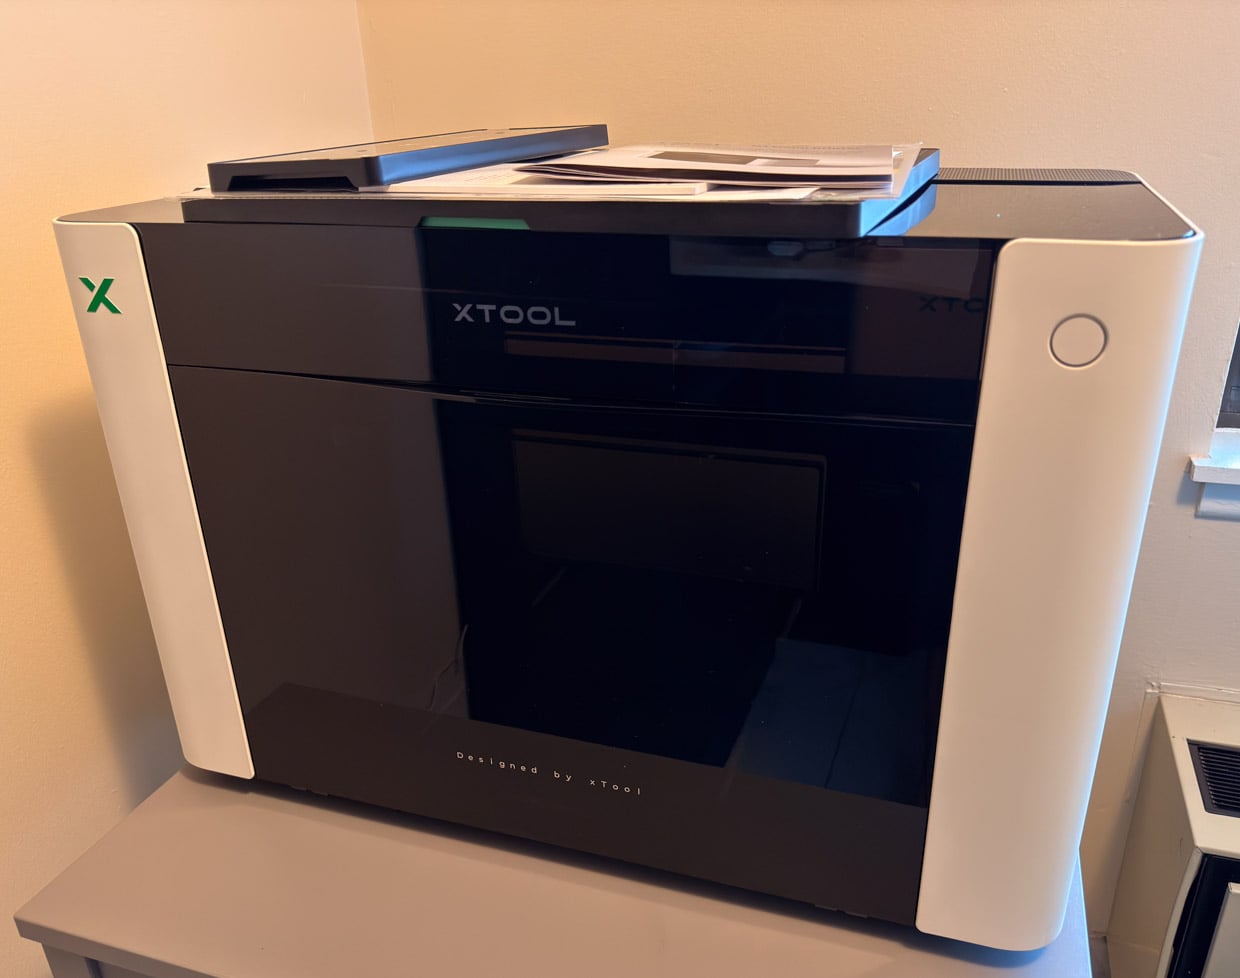
Setup is also considerably more involved than plugging in a conventional printer. There are numerous ink cartridges to install, a filtration system to set up, and ink lines that need to be manually primed using syringes. All told, initial setup took me about an hour, including ink loading and calibration.

This is one of those products where you really do need to follow the instructions step-by-step. There are many pieces of shipping tape, protective films, and transit screws that must be removed before operation, and skipping one could potentially cause problems. I also learned the hard way that you should leave the transparent protective film on the main print bed until the calibration process tells you to remove it. I peeled mine off too early and ended up having the calibration pattern printed directly onto the bed. We’ve since seen other reviewers make the same mistake.
Once everything is physically assembled, the Omni O1 connects to your computer over USB-C for its initial configuration. After setup, it can operate wirelessly. Its automated calibration worked smoothly and efficiently in our testing, and the first prints we made came out crystal clear.
A huge part of what makes the Omni O1 pleasant to use is xTool Studio. The software runs on both Mac and Windows and is one of the best-designed maker applications we’ve used. It can automatically recognize which print tray or accessory is installed and adjusts its interface accordingly. It also includes a large library of materials and common objects to use as starting points, though you’re certainly not limited to those presets. There are also AI tools for generating images, as well as lenticular prints, optical illusion art, and more.
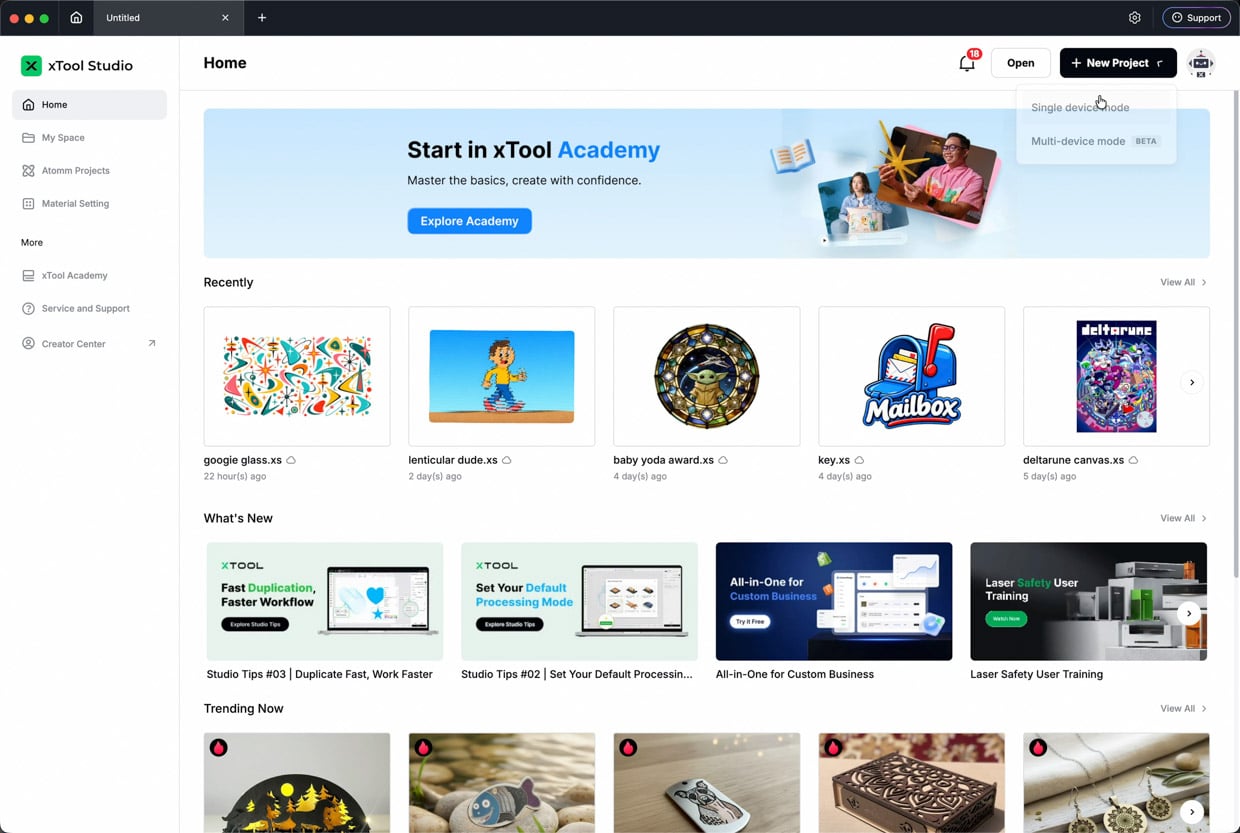
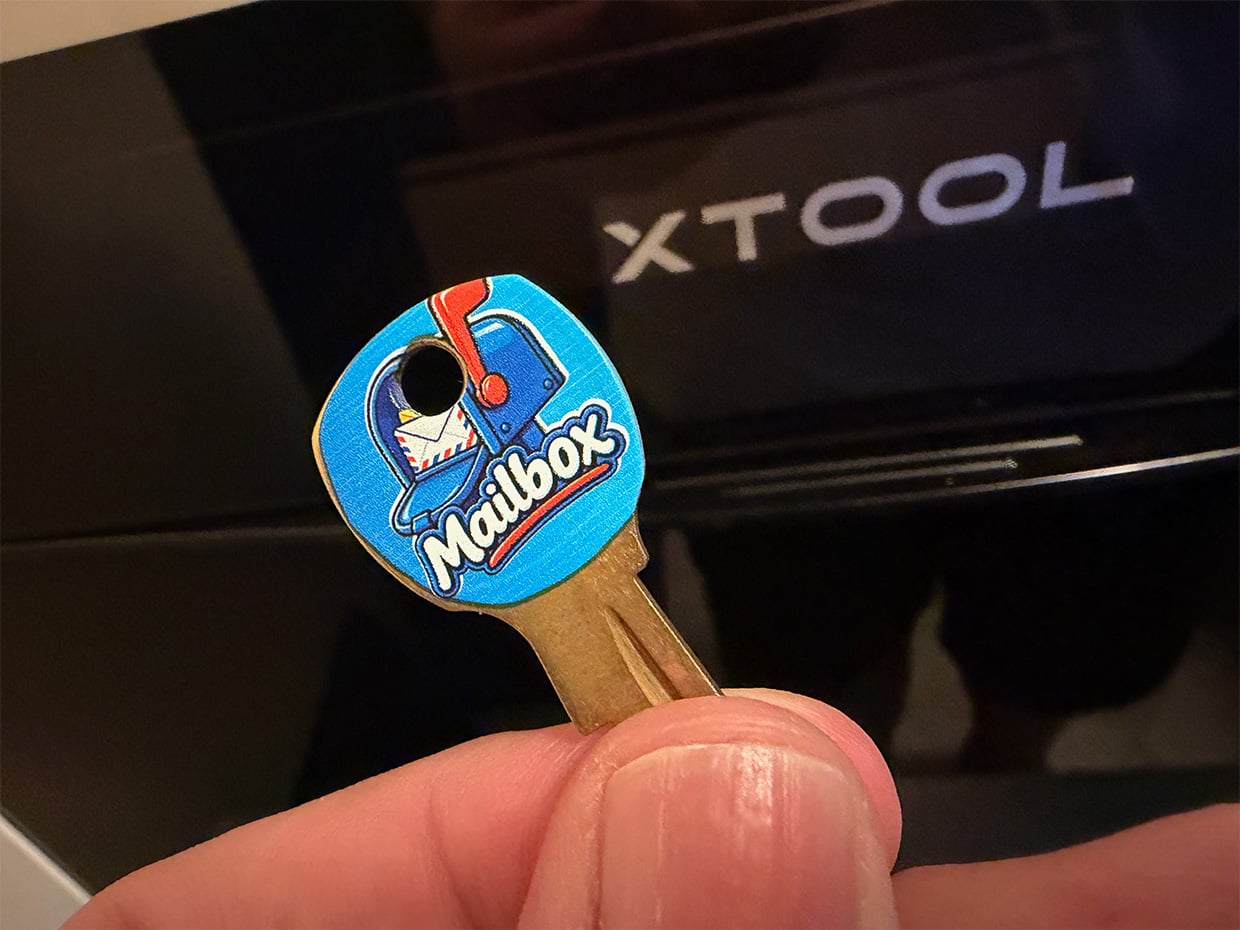
The camera and laser positioning system is particularly impressive. The software scans the print area and gives you an accurate view of the objects sitting on the bed, making it easy to position artwork exactly where you want it. Print boundaries and masking tools are excellent, especially when working with irregularly shaped objects. One of our favorite features is Smart Masking. You can place an oddly shaped object on the bed, scan it, and position artwork directly on its surface. I was even able to print graphics onto an ordinary house key. That might seem like a novelty, but it’s also a clever way to label or color-code keys, tools, or other small objects. One note is that Smart Mask isn’t great at recognizing clear or black object borders, so you may need to manually mask or place the object on a high-contrast background.
The software goes much deeper than that. We keep discovering new features as we use it. One particularly useful tool is Auto Batch, which allows you to place several objects of the same size and shape anywhere on the print bed. You align artwork with one of them, press a button, and xTool Studio automatically finds and aligns the graphics with the rest. The software also supports multi-device workflows. For example, you could print artwork on the Omni O1 and then send the job to an xTool laser cutter for cutting or engraving. It can even calculate estimated ink usage and print cost after you enter the price of your consumables.

The standard print bed supports flat objects up to approximately 13 × 16.5 inches, while the smaller mini baseplate accommodates an area around 13 × 4.8 inches. Objects up to 5.9 inches in height can safely fit inside the printer, opening up a wide range of possibilities beyond flat sheets and signs.
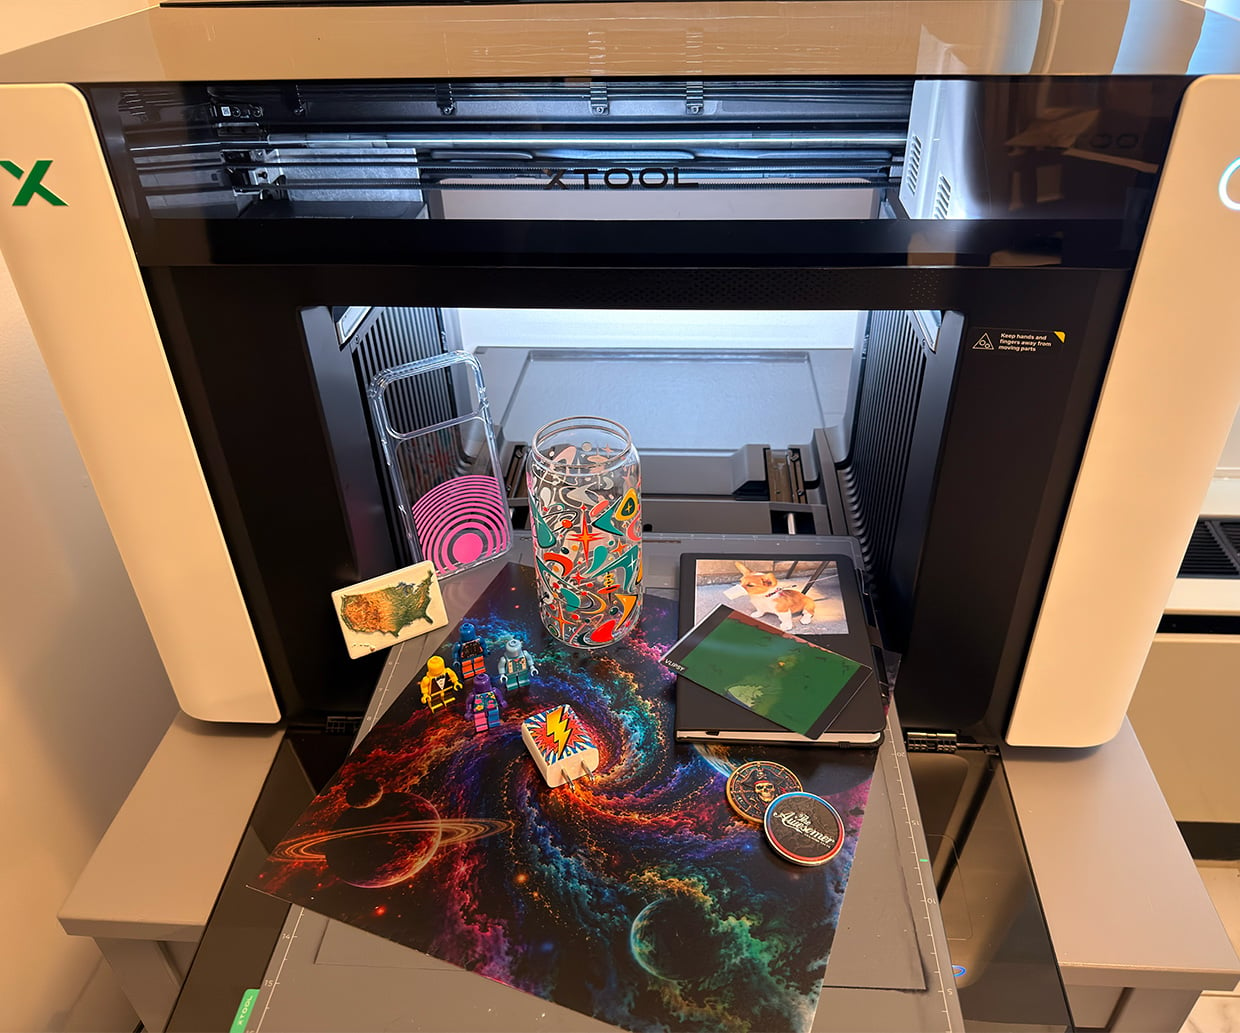
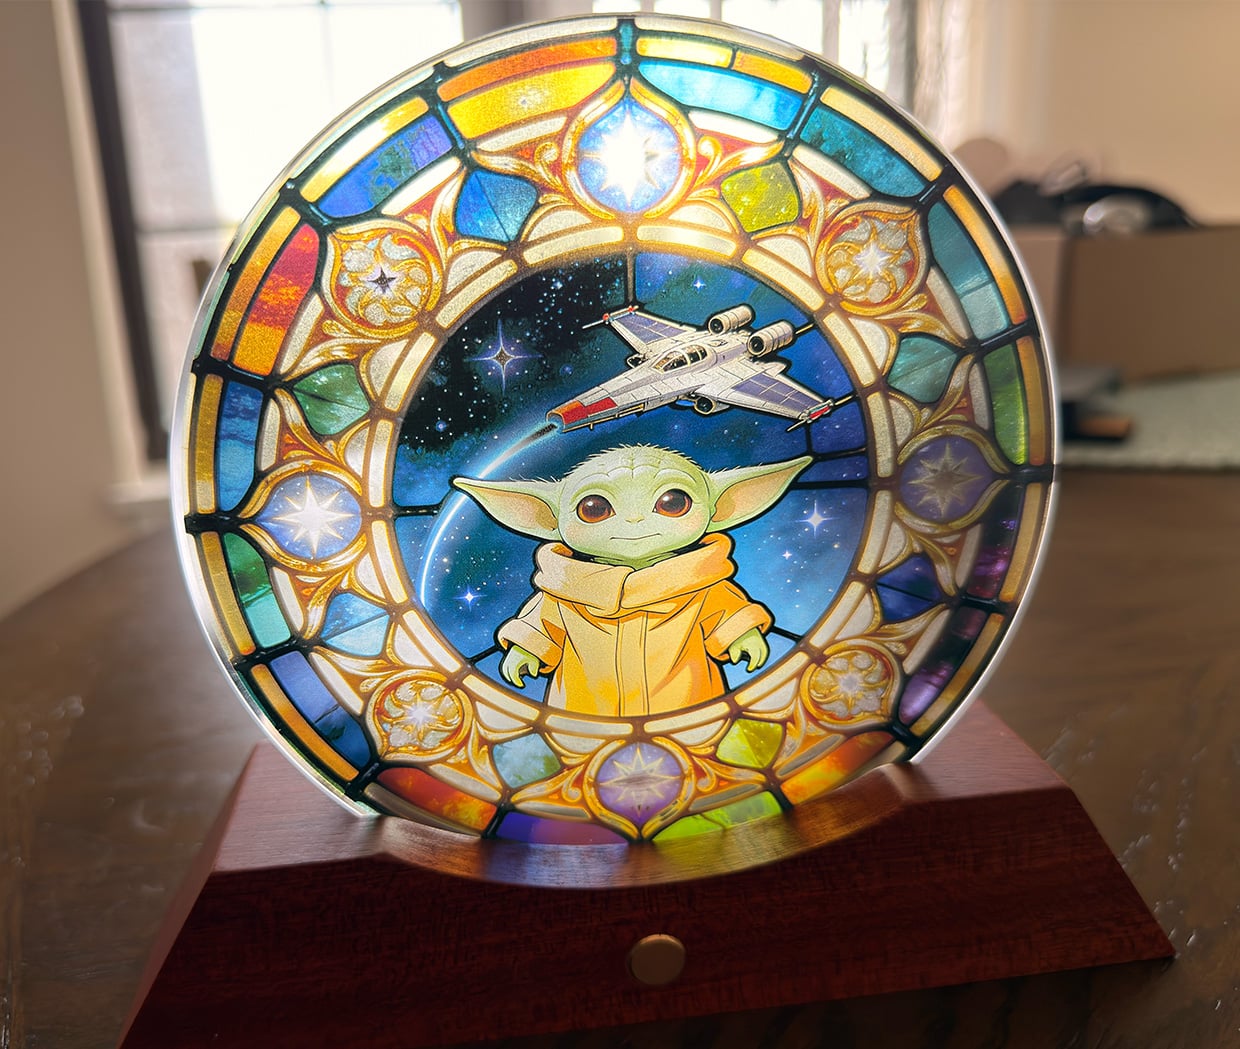
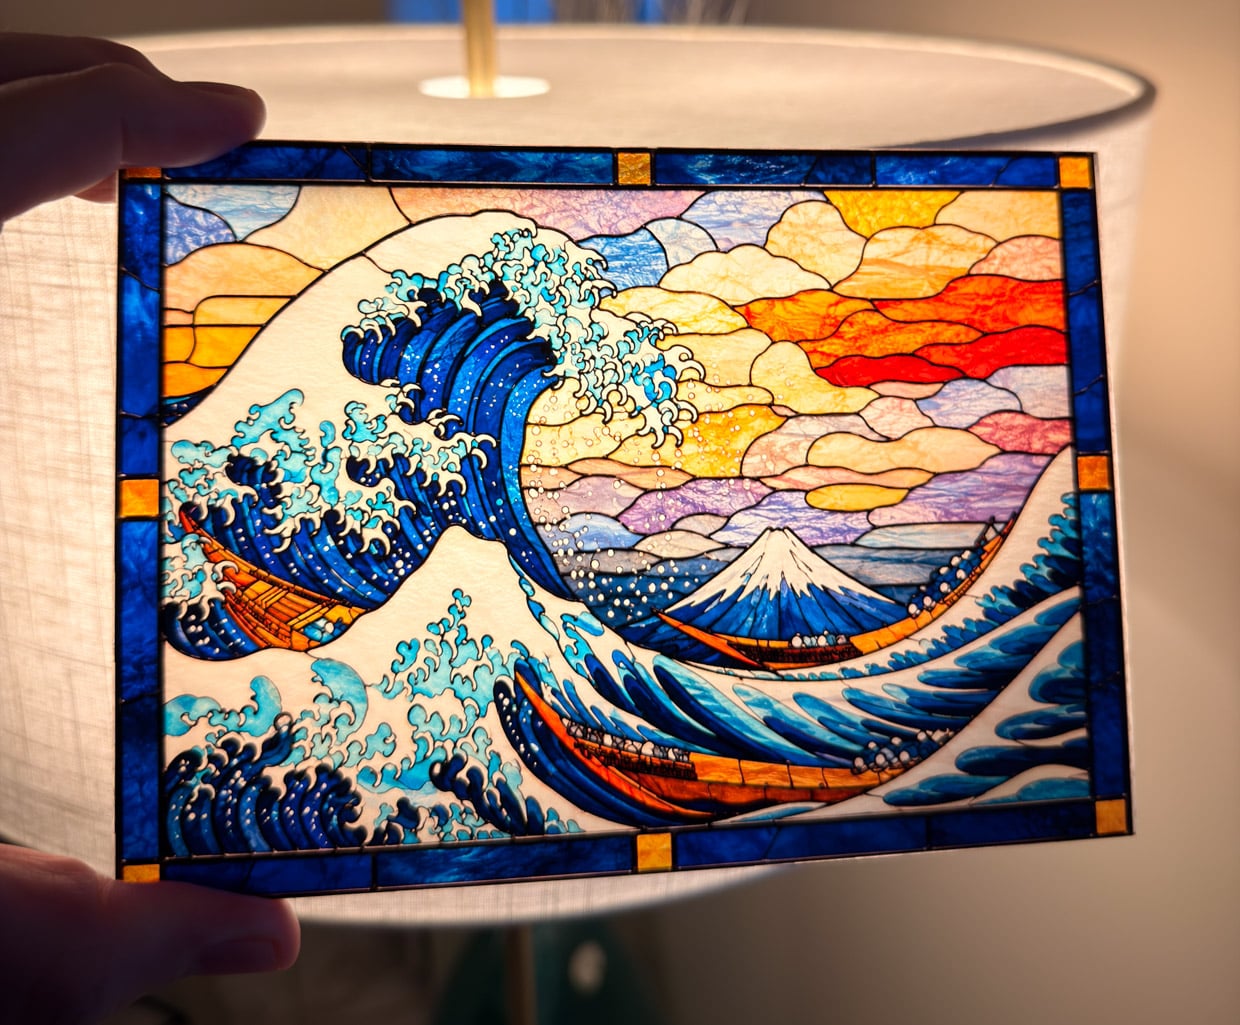
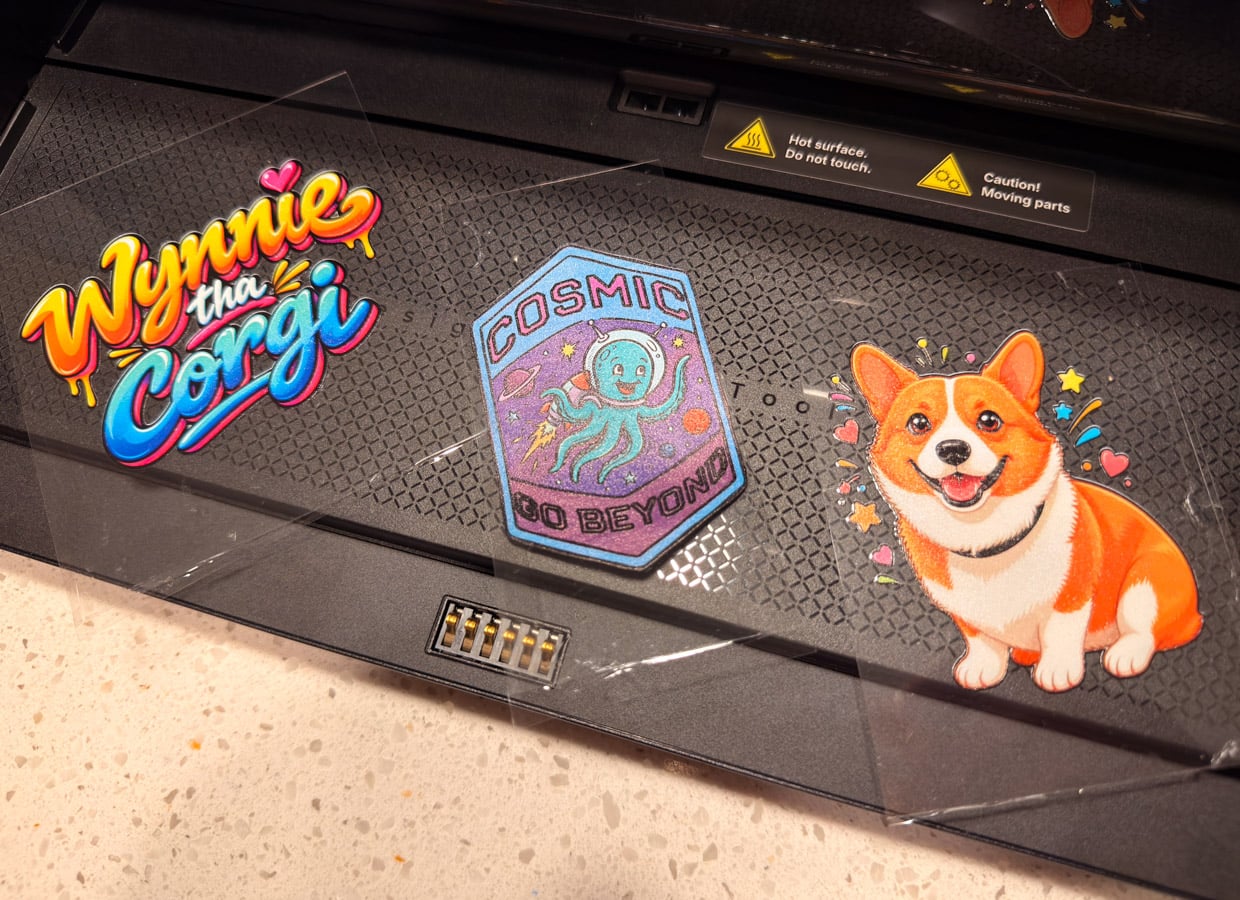
And the range of materials it can print on is impressive. The Omni O1 works with wood, glass, ceramic, metal, acrylic, plastic, leather, rubber, stone, paper, canvas, cardboard, and many coated or painted surfaces. Printing directly on fabric requires the DT + UV model, and garment workflows require an optional heat press as well. The print quality is spectacular. Colors are bright, vibrant, and saturated, with excellent fine detail and sharp registration. We’ve printed on a wide range of materials with excellent results.
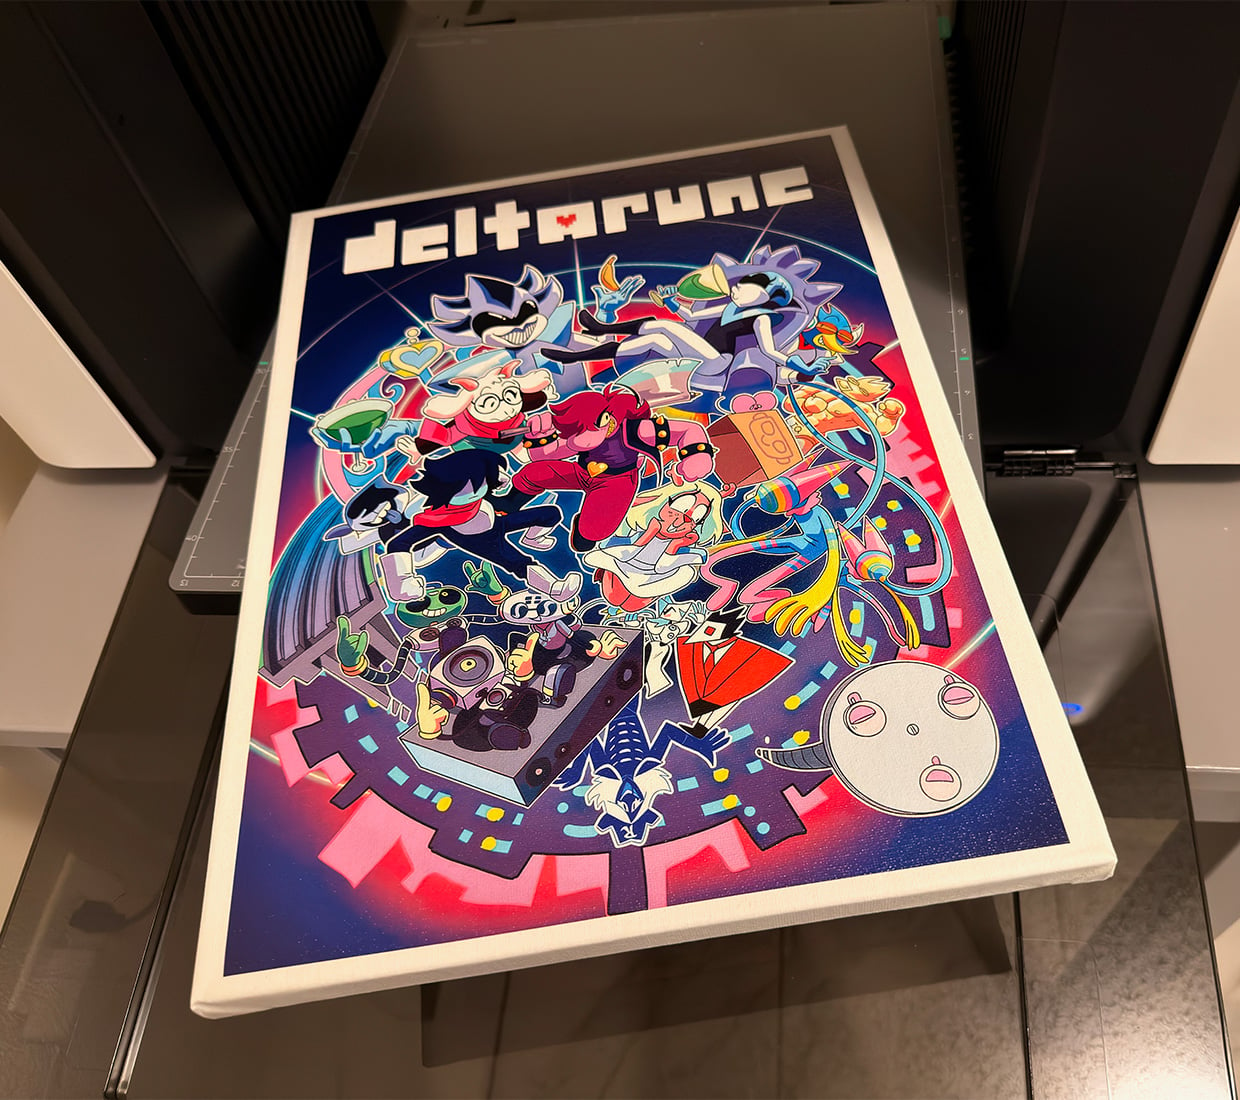
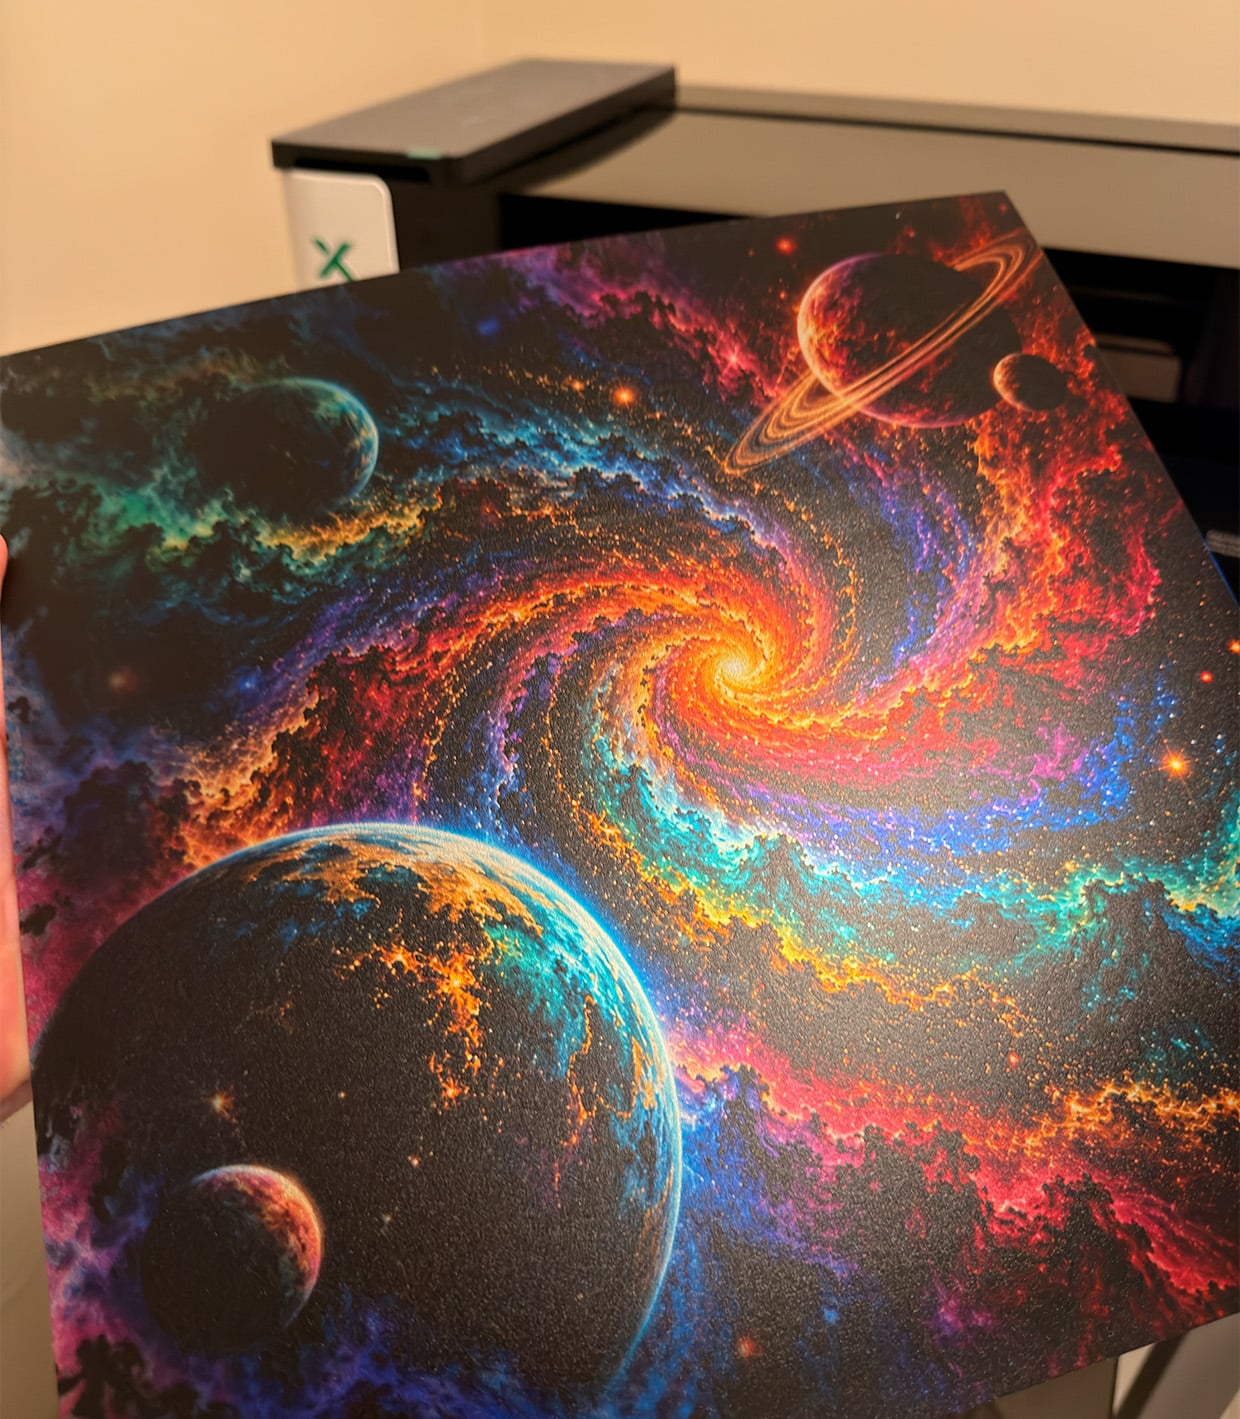
Canvas prints can be especially convincing. By adding texture layers, you can create a surface that starts to resemble original painted artwork rather than something that simply came out of a printer. White ink is particularly important when printing on dark or transparent objects because it provides an opaque foundation for the color layers. The downside is that every additional layer increases printing time. If you’re printing onto something that’s already white, such as a white canvas, there’s often no reason to print a white foundation at all.
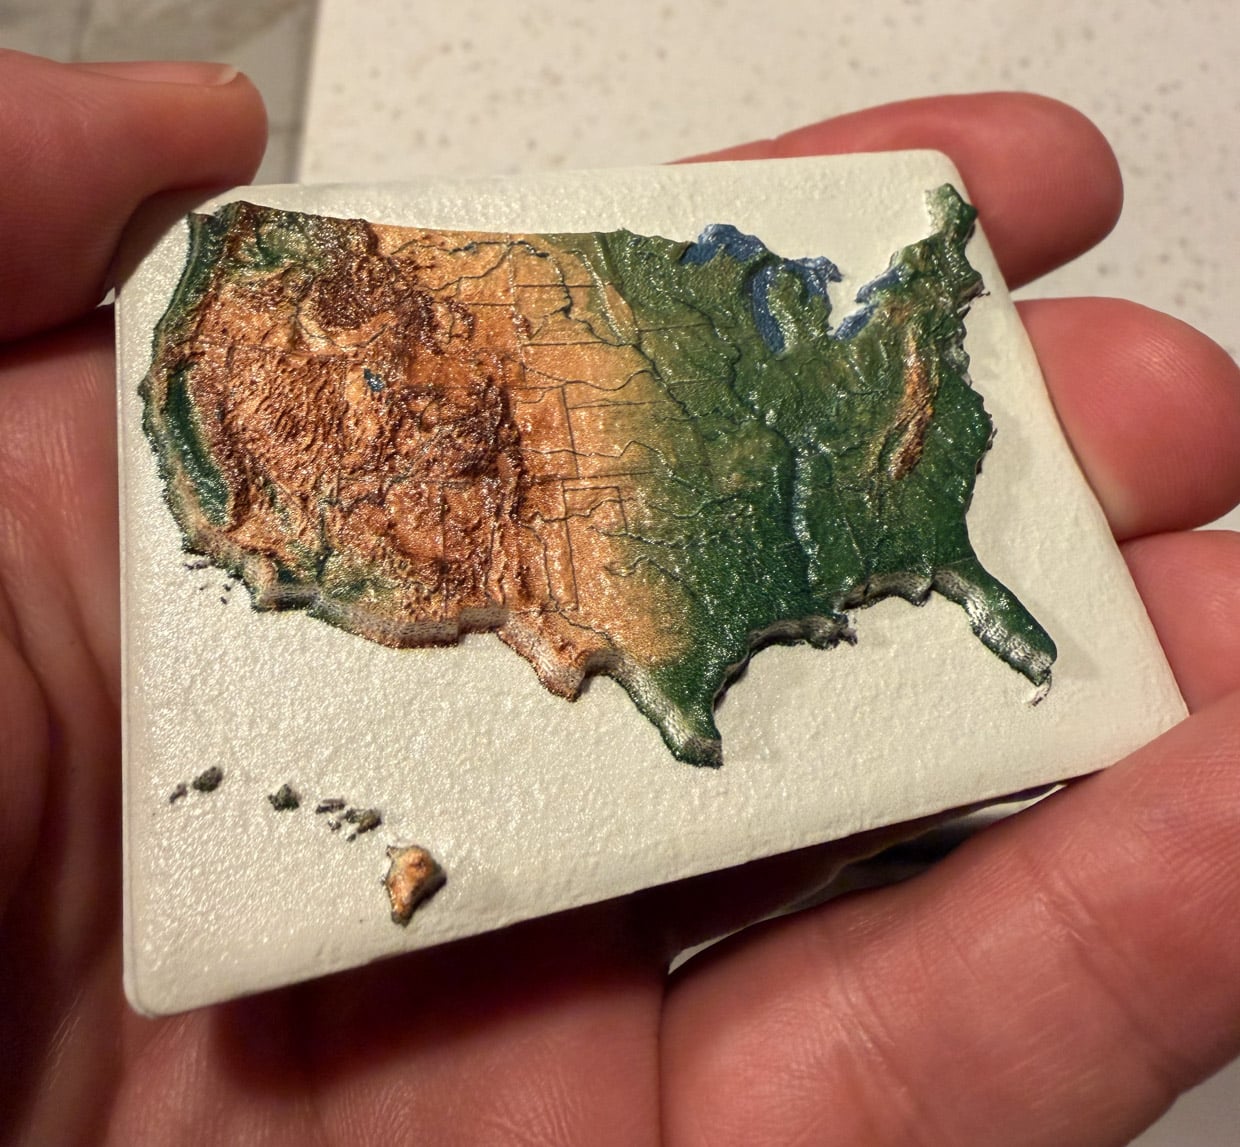
The Omni O1 can also print white, color, varnish, fluorescent inks, and raised textured effects by building up multiple layers of resin. Using this technique, it can output prints with up to 7mm of depth. While it’s not a true 3D printer, the textures are impressive and add to its creative versatility.
xTool Studio offers Fast, Standard, and High Quality modes for color printing, and you can determine how many layers of each you want for your prints. In most cases, a single layer of color is sufficient, though the amount of white you apply depends on the darkness of the material you’re printing on. In most cases, adding more layers of color generally just makes them more muddy, so keep that in mind.
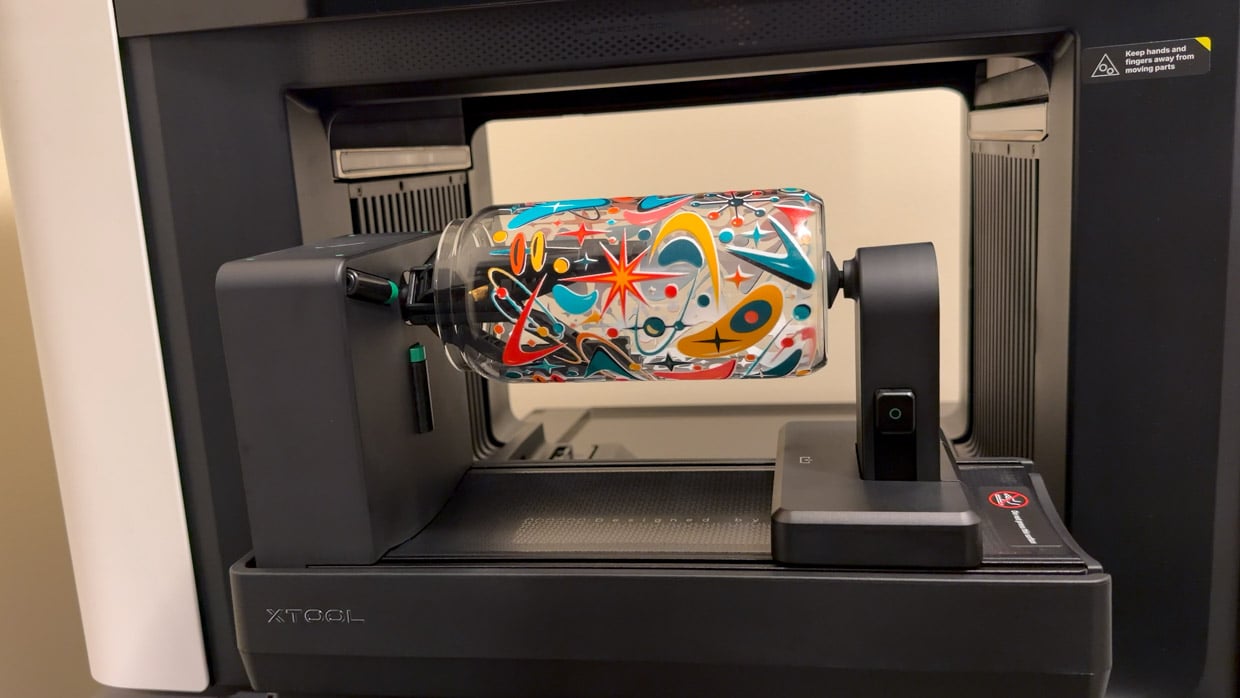
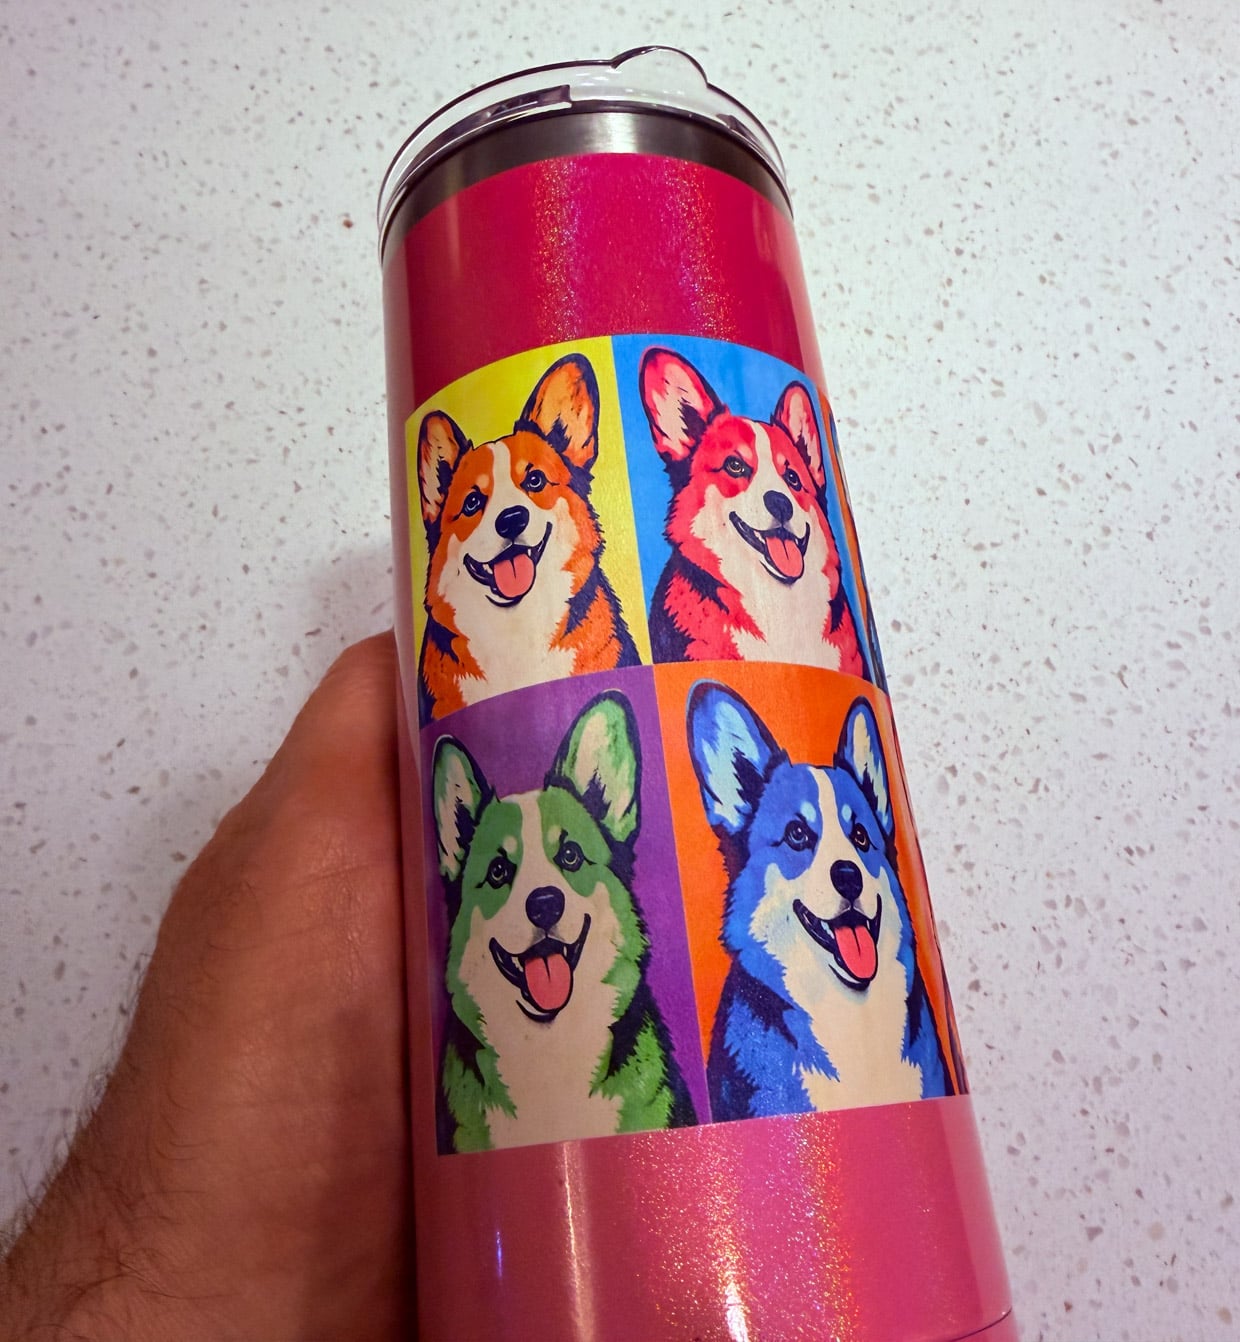
The optional $399 rotary attachment adds another dimension to the Omni O1 by allowing it to print around mugs, tumblers, bottles, and other cylindrical objects. It can accommodate items up to roughly 3.94 inches in body diameter, 4 inches in overall diameter, and 9.84 inches in length.
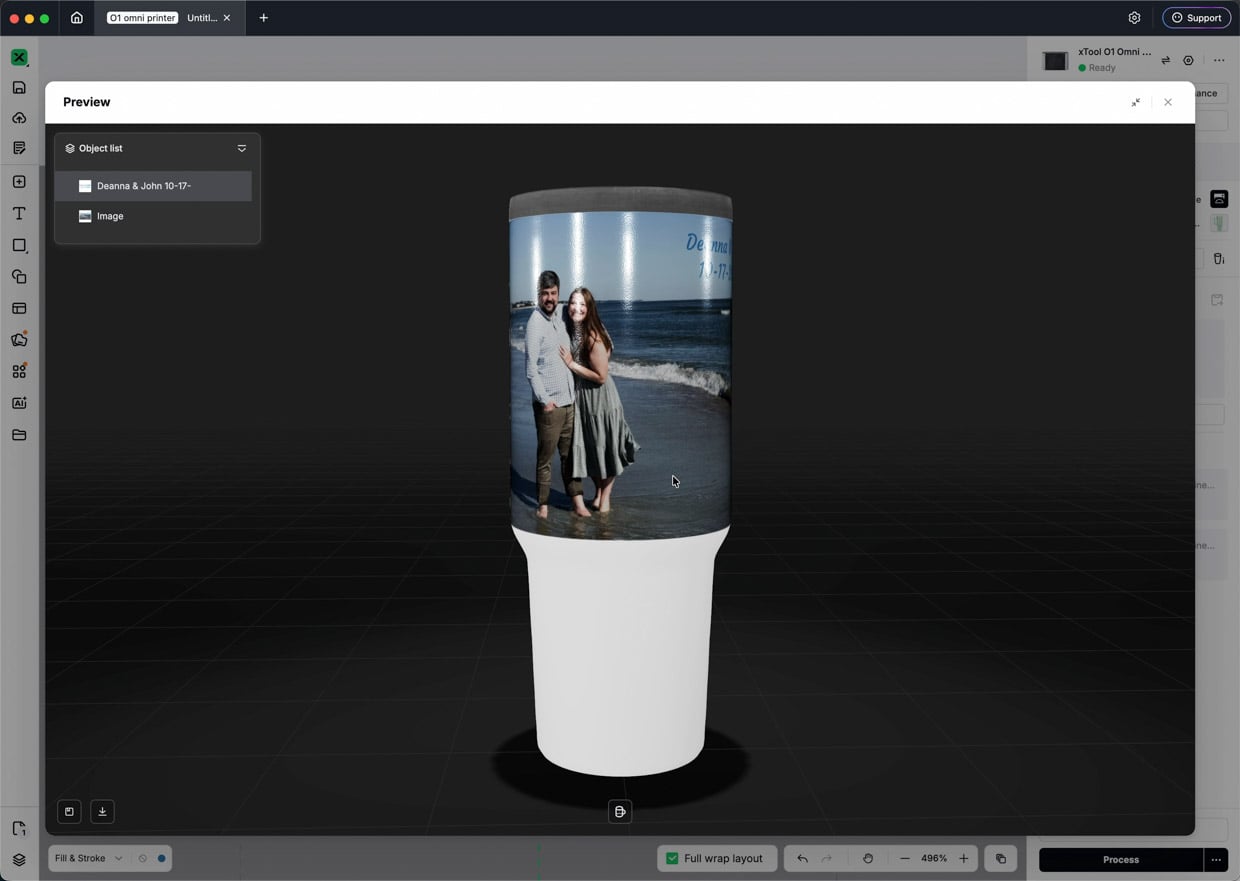
The rotary system is surprisingly sophisticated. The Omni O1 scans the object and creates a 3D model so you can preview exactly where your graphics will land. It also checks whether the item is stable and warns you if it appears likely to wobble during printing. We had excellent results printing all the way around a glass cylinder. An oversize, Stanley-style mug was less successful. suspect its handle dragged slightly on the platform as the mug rotated, resulting in a small amount of image distortion opposite the handle. In general, the rotary tool works best with smooth cylindrical objects that don’t have protruding handles or other irregularities.
Most materials don’t require primer, but xTool sells primer wipes designed to improve adhesion on challenging smooth surfaces such as glass, ceramic, metal, and acrylic. In our testing, acrylic performed reasonably well even without primer. Aluminum, glass, and ceramic all benefited noticeably from using it, particularly when it came to durability and resistance to scratching. That said, no UV printed objects are dishwasher safe, nor should you print on food surfaces. The primer wipes also smell horrible, so you want to use them in a well-ventilated location.
Print times vary dramatically depending on the project. A small key fob or magnet might only take a couple of minutes. A full-sized canvas can take around 20 minutes if it doesn’t require a white base layer. A large Stanley-style tumbler that requires white ink can easily take an hour or more. Additional color passes, varnish, or raised textures will stretch those times further.
There is also a warm-up period before printing. Depending on the ambient temperature, the printer generally takes around five to ten minutes to bring the ink up to its ideal operating temperature using its internal ceramic heater. Once printing begins, xTool Studio does a very good job of estimating the remaining print time.
Day-to-day operation is pleasantly uneventful. The Omni O1 is relatively quiet, and we haven’t noticed any strong ink odor while using it. The built-in filtration and ventilation system appears to do a good job of keeping fumes under control. That said, UV printing comes with one significant responsibility: maintenance. UV ink can thicken or clog printheads and tubing if the printer sits unused for too long. That’s true of UV printers in general, not just the Omni O1, but it means this isn’t the kind of machine you should buy, use twice, and then ignore for six months.
The printer includes several cleaning routines. Standard Clean handles everyday nozzle maintenance, while Deep Clean performs a stronger purge if a clog is suspected or the printer has been sitting longer than usual. Sleep prepares the printhead for extended idle protection, while Wake Up flushes the protection fluid and restores normal ink flow.
xTool Studio does a good job of reminding you when maintenance is due. Weekly upkeep includes removing excess ink, replacing or cleaning foam pads, and cleaning the scanner, optical path, and UV light sources with alcohol. Monthly maintenance includes lubricating the printer’s guide rails.
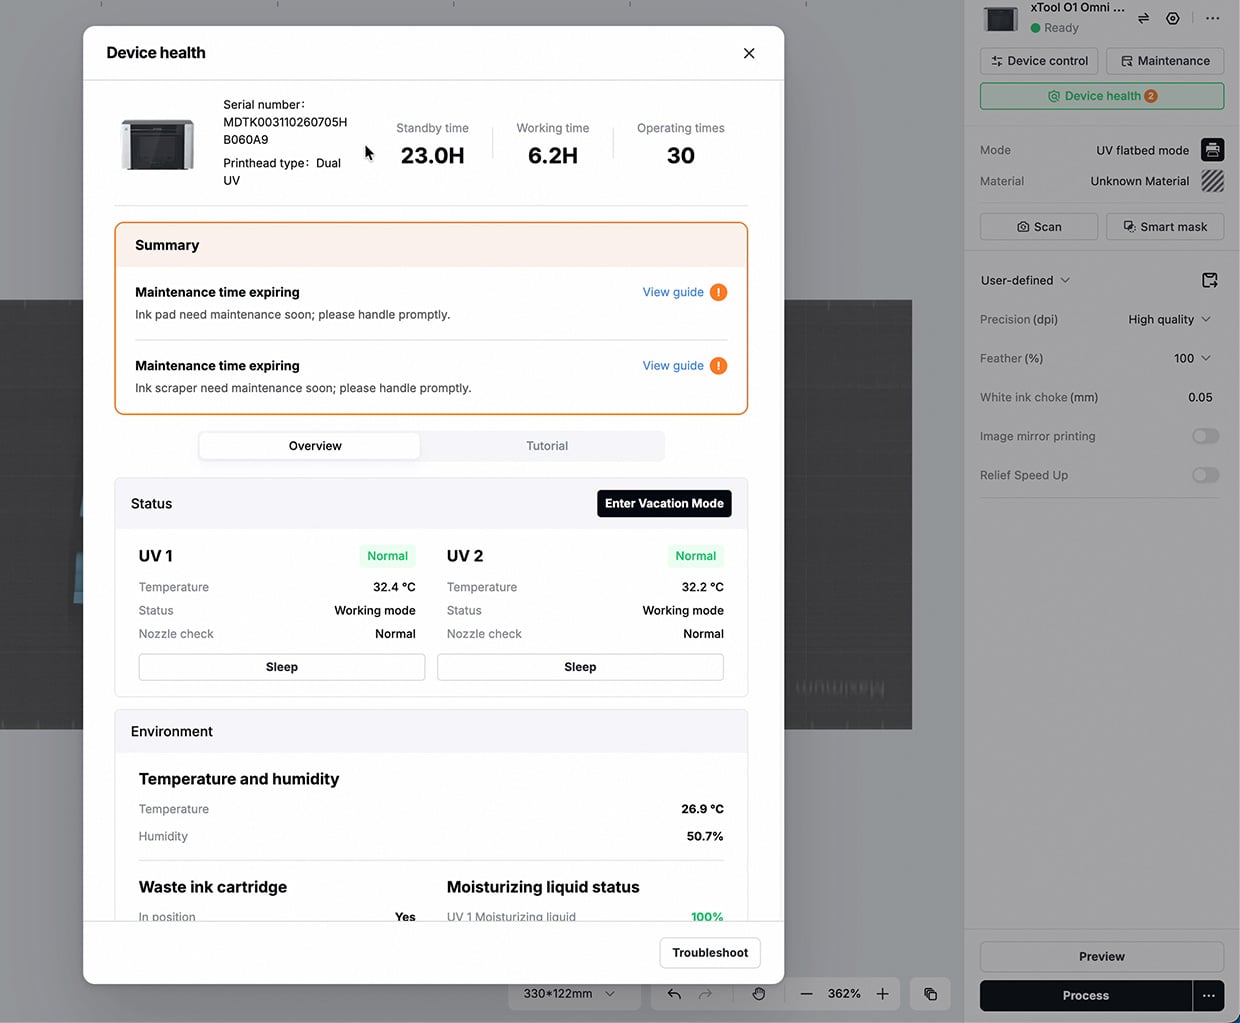
If you expect not to use the Omni O1 for more than three or four days, it’s important to activate Vacation Mode manually. This fills critical areas of the printheads with moisturizing fluid to help prevent clogs. Vacation Mode is also required before transporting the printer.
The Omni O1 is designed to remain powered on so its automatic maintenance routines can run in the background. The system helps reduce the likelihood of clogged printheads, but it doesn’t completely eliminate the need for regular use and upkeep. UV ink also has a limited shelf life, something worth keeping in mind if you’re only planning to print occasionally.
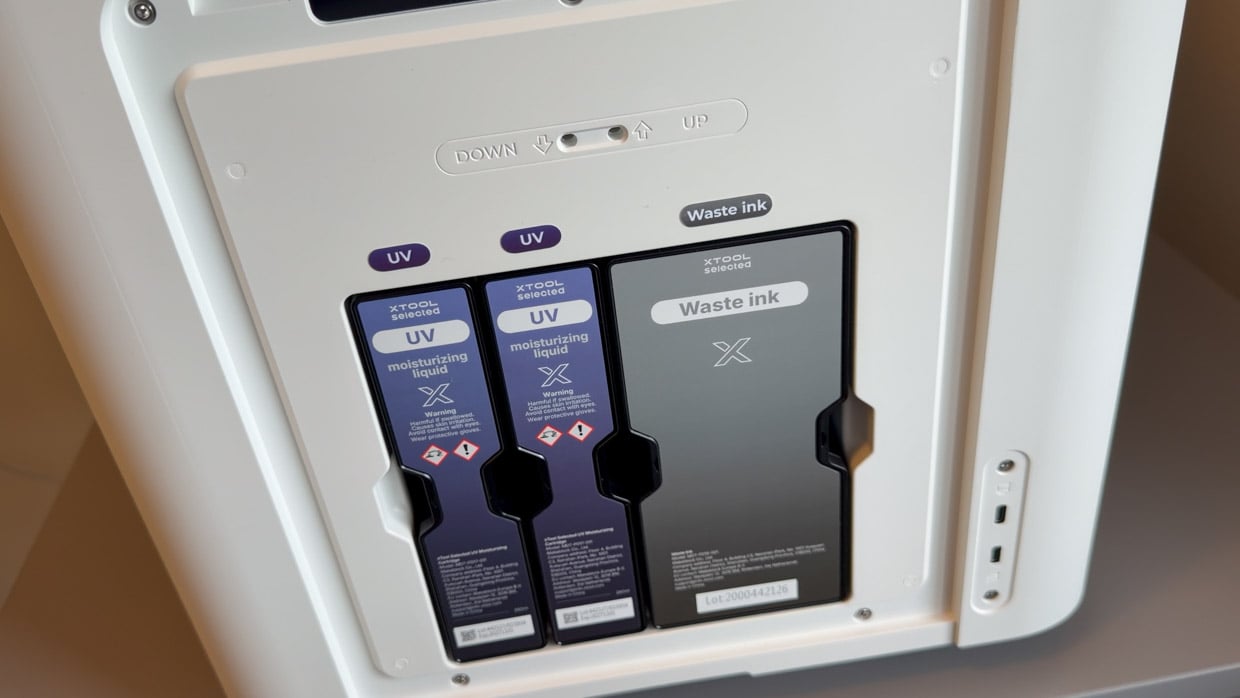
Consumables are another factor in the cost of ownership. Between the many ink cartridges, white ink, varnish, fluorescent inks, cleaning fluid, moisturizing fluid, filters, foam pads, primer wipes, and replacement adhesive bed surfaces, expenses can add up. Fortunately, xTool Studio can estimate ink consumption and job cost before you hit Print, which is especially useful if you plan to sell finished products. One thing to look into to manage consumable costs is an aftermarket silicone bed, as those provide easier cleaning and reuse than the sticky mats.
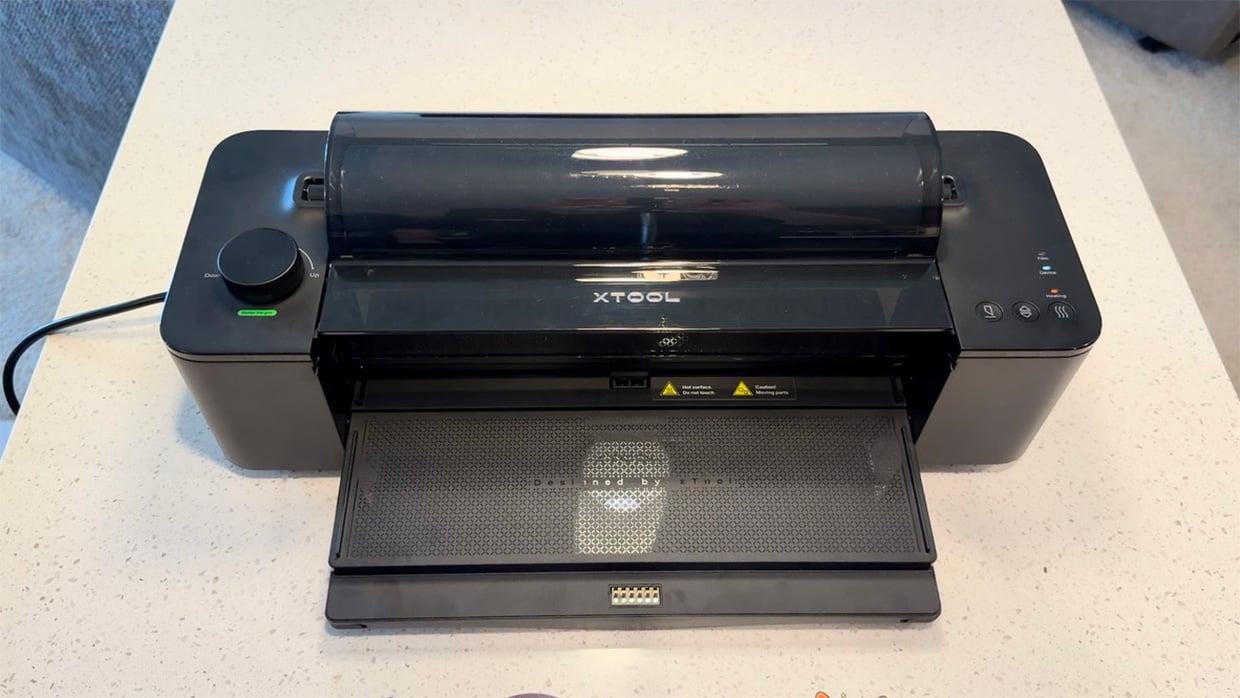
Beyond the rotary tool, xTool offers several other accessories. The $499 laminator can be used for workflows involving colorful stickers and metallic foils and works with all Omni O1 versions. The DT-focused roll feeder and laminator bundle costs $898, while garment printing with the DT + UV model will likely require xTool’s optional heat press as well.
The xTool Omni O1 doesn’t make UV printing completely effortless, but it dramatically lowers the barrier to entry. Setup is a bit involved, and ongoing maintenance is unavoidable. Yet, once it’s running, the combination of excellent print quality, intelligent object scanning, precise placement, and unusually polished software makes it remarkably approachable.
What impresses us most is its versatility. With one machine, you can print a tiny graphic onto a key, cover an aluminum panel with vibrant artwork, create a textured canvas print, decorate leather, or wrap graphics around a glass tumbler. The Dual UV model expands those possibilities even further with additional ink options and support for both rigid and flexible objects.
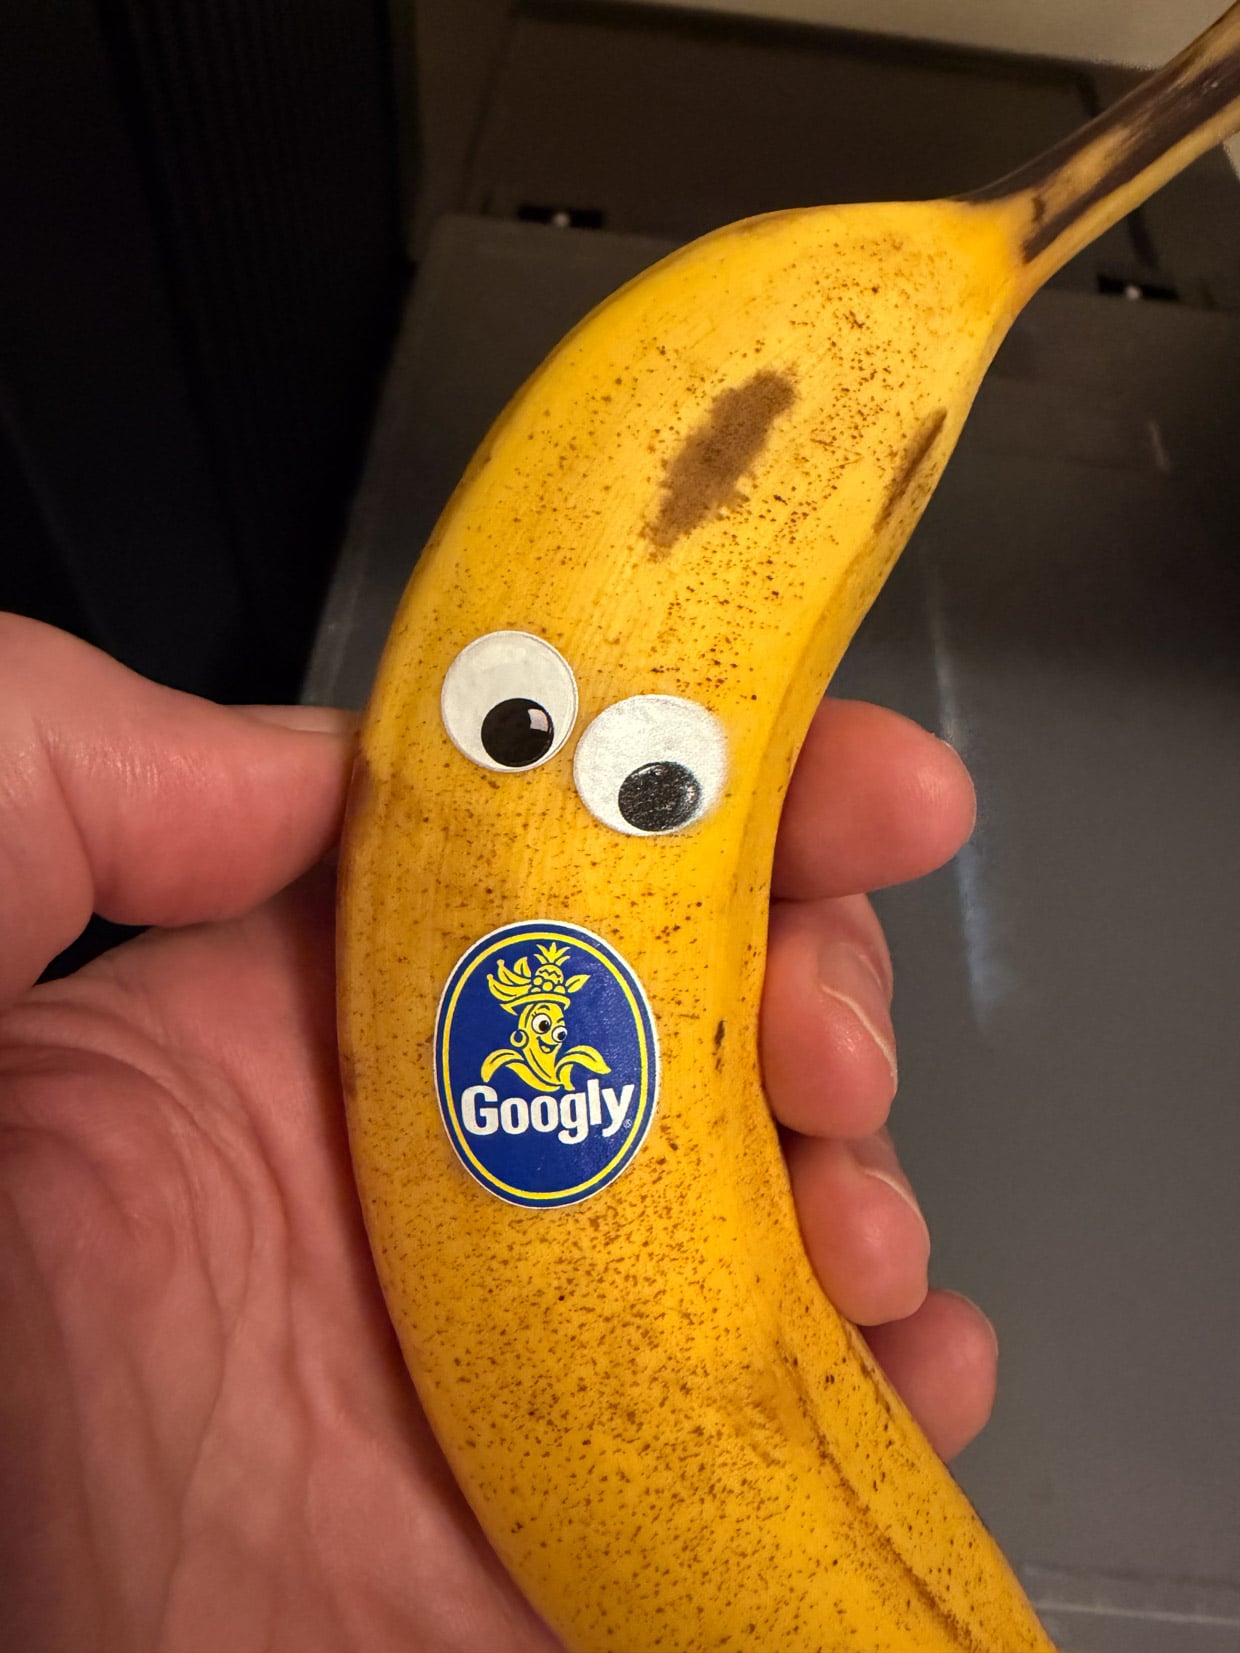
There’s no question that the xTool Omni O1 is capable. The biggest question is whether you’ll use it enough to justify the price and maintenance. This isn’t a printer we’d recommend buying for occasional experimentation and then leaving untouched for months. But for makers, artists, Etsy sellers, small businesses, and serious hobbyists who expect to use it regularly, the Omni O1 is an exceptionally capable and surprisingly approachable direct-to-object printing system. Heck, it can even print on a banana.